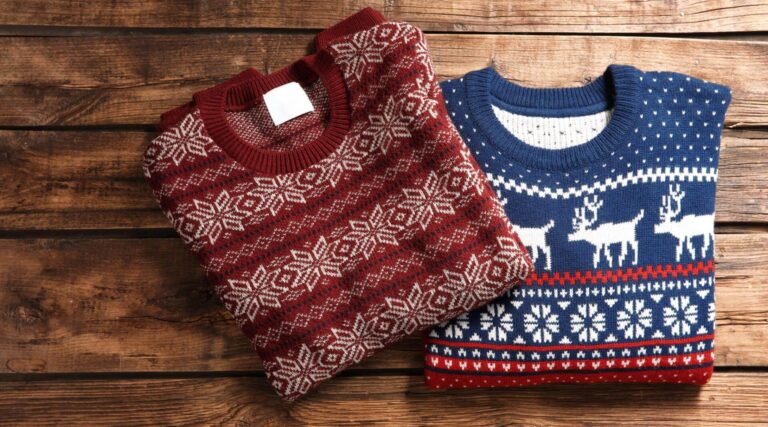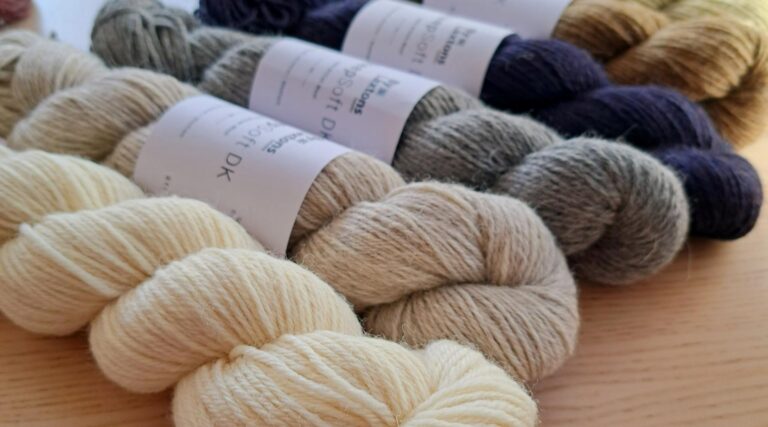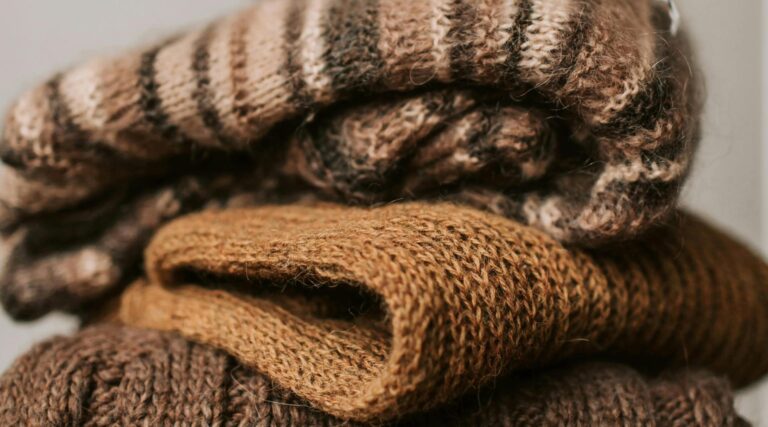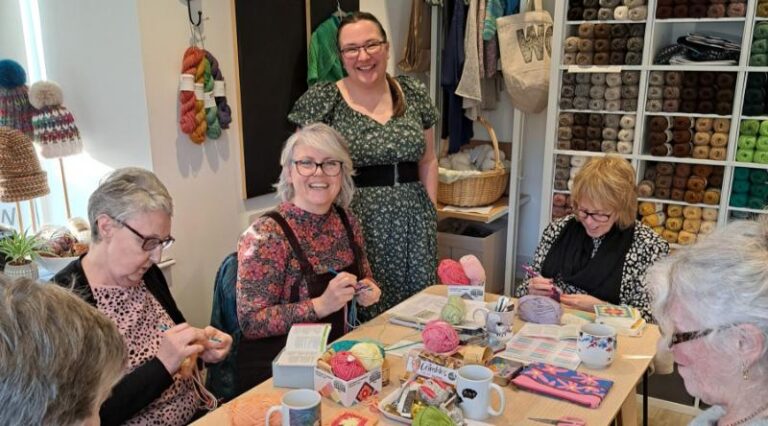

It’s here. Knitting season is here, and I don’t know about you, but I have got knitting plans coming out of my EARS. I’ve got high hopes that my knitty future is about to be filled with an abundance of finished objects and handknit Christmas gifts that are gonna need blocking – and judging by all our Stonehaven knitters popping into the shop, you’re gonna be needing to block your knitting too.
Blocking?
If you’ve not heard of – or tried – to block your knitting before, strap in, ‘cause your crafty life is about to change for the better.
Put simply, blocking your knitting is essentially getting your knitting we and drying it flat. And it’s pretty much the last step in knitting that I really wouldn’t recommend skipping. Trust me when I say it makes one hell of a difference to your handknit.
So, seeing as you’re gonna have all those cosy winter jumpers and Christmas gift knits on and off the needles pretty soon, it feels like a rather apt time to give you the lowdown on everything you need to know about blocking your handknits: what blocking is, why you should do it, and, most importantly, how to block your knitting to get it looking like handknit perfection.
As I said, blocking is the process of washing or dampening your finished knitting, shaping it into the size and shape you want it and leaving it to dry.
When you’re knitting, your finished project doesn’t always look the prettiest straight off the needles. Your stitches can sometimes look a bit lumpy and bumpy, your edges might curl in, or the ribbing at the bottom of your sweater might cinch in too much. Your cardigan might not be quite as long or sit quite quite like the one in the pattern pictures.
Blocking takes all that and makes it at LEAST 25% better – possibly more, but I’m not at liberty to make any official promises, you know?
Blocking your knitting helps your knitted fabric relax, allows the stitches to bloom and gives you the chance to shape it into the finished dimensions you want. It’s particularly useful (read: essential) for projects where the shape and measurements are actually important, or where there’s a stitch pattern to show off, like lace knitting.
I can understand the temptation to want to skip blocking your knitting project. After spending HOURS knitting something, the sense of achievement of it being off the needles is great, and you often want to wear it right this second, now. Surely washing and blocking your knitting isn’t really that necessary?
Especially as knit season ain’t exactly the warmest, and handknits aren’t always the quickest of things to dry. At least in our chilly flat; they’re not! It’s frustrating to have to wait another 2, 3, 4 days for your handknit to dry completely, but trust me, it’s worth the wait.
Here’s why:
Even the most experienced knitters can have the odd change in tension with a few wonky stitches or lumpy bits. Blocking will relax the knitted fabric, allowing your stitches to settle and make everything look nice and neat.
I’d argue that this is especially important if you like to knit flat and sew your knitting. If you’re sewing two pieces together, it helps if they are the same length and you need the size to be right. Knitted fabric can be stretched; sewed edges cannot, so you want to make sure it’s all good before you sew.
Whether you knit flat or in the round, blocking your knitting project can help your finished handknit match the measurements intended in your pattern. You might try on a cardigan before blocking and think you’ve made a real big mistake with the size you’ve knitted. Give it a block, though, and you might find things fit a hell of a lot better.
Lace knitting is a PRIME example of this. Pre-blocking, a lace project can look really scrunched up. All those yarn overs and k2togs can pull your knitting in different directions, and your knitted piece probably won’t lie flat at all.
Post-blocking, on the other hand, and the fabric is stretched out, opens up, and the stitch pattern is revealed. It’s transformative and really does show off all that hard work and effort that went into knitting it.
To be honest, blocking your knitting just makes all difference. It can help your handknits look neater, feel softer and drape more nicely, depending on the yarn you’ve used. It’s the difference between something that’s just come off the needles and something that’s ready to wear.
There are a few different ways to block your knitting, and the best method will depend on the yarn you’ve used and the project you’re working on.
However, for most woolly knits you’ll wanna give it a wet block – so washing or soaking your handknit, removing the excess water, shaping it while it’s damp and leaving it to dry.
I’ve written about washing your handknits before, so if you want the full lowdown, have a read of our guide to washing your handknits.
But here’s a quick recap:
Step 1: Fill your sink or a washing bowl with warm water
Add a bit of mild detergent or wool wash, like Eucalan Delicate Wool Wash, which is a super nice, no-rinse solution that we always recommend in our Stonehaven knitting shop. Give it a mix and add your handknit.
Step 2: Leave your knits to soak
Give your knit a gentle press down in the water until it’s fully saturated, then leave it to soak for a bit. It really is as simple as that.
Just don’t agitate it whilst it soaks, or you’ll risk felting it, and we really, really don’t want that.
Step 3: Rinse your knits
Once your knit has had a good bath, it’s time to give it a rinse. If you’ve used Euclan, there’s no need, but other wool washes or detergents might need rinsing out. Get rid of all your soapy water and refill your sink/bowl with fresh water, gently pressing your knit through the water until all the soap is gone.
Step 4: Squeeze all the water out.
Carefully lift your knit out of the water, supporting its full weight so you don’t accidentally stretch it. Gently squeeze out as much excess water as you can.
Remember to squeeze, don’t wring or twist!
Step 5: Give it a towel dry
Grab a big towel, lay your handknit on top and roll it all up like a sausage roll. Take a walk over the top to squeeze out as much water as possible – or you could roll it up a second time like a snail and press down on that.
Unroll your sausage/snail towel and lay out your slightly damp knit on a suitable flat surface. This could be a dry towel or blocking mat, but an old yoga mat or children’s playmat can work just as well.
It’s time to block your knitting, i.e. to shape your finished knit – yay!
Use the measurements of your knitting pattern as a guide, being careful not to stretch tooo much. If you’re blocking a jumper, for example, you’ll want to keep an eye on the neckline and length of the sleeves as well as the overall width and length.
This is where tools like blocking pins and wires come in handy. I quite like using t-pins with my blocking mats for holding everything in place. They’re also excellent for lace knitting projects, as you can pin all the points out and show off all those knitted details. Blocking wires are pretty good if you like knitting shawls or things with long, curved edges. You thread the wire through the edge of your knitting, then pin the wire into place to give your finished knit a nice crisp, clean edge.
Once you’re happy with the shape, leave your knitting to dry completely before removing the pins and wires.
If your home is anything like my chilly flat, this might take a while. So maybe cast on a new project so you have something to distract yourself with whilst you give your handknit a few days to dry before trying it on. And do make sure it’s completely dry before taking it off the mats. Otherwise, you might end up losing some of the shape you’ve just spent all that time and effort creating.
A brief history lesson for ya! Shetland knitters traditionally ‘dress’ or ‘board’ their finished knitting using a jumper board, which is a sort of person/jumper shaped wooden frame that you put your sweater on to help it dry in shape. You can see one over at Jamieson’s Knitwear here.
So rather than pinning everything out flat on a blocking mat, these frames stand upright and hold your handknit in shape while it dries. It’s a much more efficient way to block a jumper, and you can imagine how quickly it would dry on a board if you popped it outside in that fresh Shetland wind! Shetlanders apparently think the rest of us are a bit mad for spending ages pinning everything out on a blocking mat, and perhaps they have a point…
If you like knitting shawls, there’s also a hap stretcher. ‘Hap’ is the Shetland word for shawl, and these wooden frames have been used in Shetland for generations to stretch and shape them.
The stretcher is a square frame with pegs all the way around. You thread strong yarn through the points along the edge of your shawl, secure it to the pegs and stretch it out to the correct size before leaving it to dry.
If you’re a shawl knitter and wanna see how one works, have a look at this hap stretcher tutorial by Kate Davies. It even shows you how to make your own!
And that’s about it. Blocking your finished knit might feel like a bit of a faff if you’ve never tried it before, and yes, waiting for your knitting to dry can be a pain, especially when it’s freezing outside, and you just want to wear your new jumper. But after putting in all those hours knitting, you want your handknit looking its absolute best when you show it off to everyone, right?
So next time you cast off, don’t be tempted to skip straight to wearing it. Block your knitting – give it a wash, shape it and let it dry properly. I promise you, you’ll be really, really glad you did.
To provide the best experience we use cookies to store and/or access information. Consenting will allow us to process data on this site. Not consenting may adversely affect certain features and functions.